Skip to content
Empxtrack allows addition of employees in two ways – upload employee data using a spreadsheet or add one employee at a time. This help page demonstrates steps to upload data of multiple employees using a spreadsheet.
Watch the video demonstrating 2 quick methods to add employees in Empxtrack
To upload employee data, follow the steps:
● Log into the system as an HR.
● Click Product configurations.
.
Note: In the Enterprise product, the Administrator can directly scroll down to Uploads section on the Settings page.
● Go to the Uploads section and click Employee data link.

● Click  icon to download the CSV file to identify the format and fill in the employee data. Make sure you don’t change the columns of the downloaded file or the first row.
● Open and view the downloaded file. View steps to open a csv file.
● Save the file on your system and fill in the employee data without changing the columns.

● Once the data is ready to upload, click Choose File to attach the file and then click Upload button.
If you did not change the first row, all fields would be mapped automatically. Otherwise, map the fields. This step is important to map the Empxtrack fields to the field headers in the user file, and this helps in error-free data upload. If the selected field does not match, click on the dropdown and select the required option.
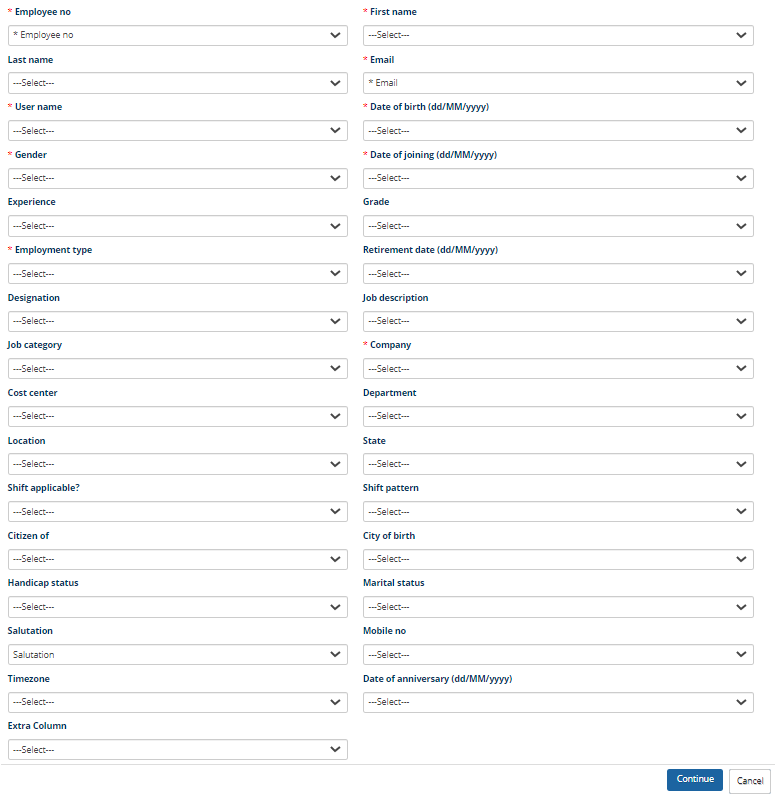
Note: In case you are using the same file which was downloaded, all fields would match automatically.
First few rows are displayed to allow you to verify the uploaded data. Click on the continue button and then Confirm to import the data in Empxtrack. Employee data is successfully uploaded in the system.
This process is irreversible. Once the data is updated, you cannot reverse the changes.
To add employees one at a time, visit the help page Add new employee.
Learn more about Empxtrack HRIS
Suggested Links